
In this article
- What are headshots, and what are they for?
- Which headshots to shoot at home
- 1. Close-up headshot
- 2. Full-length
- 3. Profile
- 4. Three-quarter shot
- How to take headshots at home, step by step
- Step 1. Choose a plain background
- Step 2. Use your phone’s rear camera
- Step 3. Get good light
- Step 4. Dress simply
- Step 5. Relax and play with the camera
- Step 6. Choose the best headshots from your home session
- A checklist for your headshots at home
- Home headshots or a professional photographer?
- Frequently asked questions
Quick answer: to take headshots at home, you need a phone with a good camera, a plain one-color background, natural window light or a ring light, and plain clothes with no prints. Shoot the four basic framings (a close-up headshot, full-length, profile, and three-quarter shot), add one where you smile, and pick your best to send to auditions.
A casting director sees your headshot before you say a single line. If you’re just starting out, or a photographer isn’t in the budget yet, you can handle it at home. A current phone is enough, as long as you take care of the background, the light, your clothes, and above all, looking natural.
Putting your materials together is one of the first steps, along with training and getting experience. Our guide on how to become an actor lays out the complete path.
What are headshots, and what are they for?
Headshots are the photos that show your look, your expressiveness, and your range. They’re one of the first things casting directors and talent agents look at before calling you in for an audition.
The dictionary meaning is simple. Merriam-Webster calls a headshot a photograph of a person’s head and face. In the industry, the standard size is 8×10 inches, and our glossary has the full definition of what a headshot is. Here we get practical, because good headshots do four jobs.
- Show how you look now. Approximate height, build, face shape, and hair and eye color.
- Convey your personality. It comes through your attitude to the camera, your eyes, and your expression.
- Prove your range. Different poses, expressions, and framings show it.
- Speed up shortlisting. Whoever is putting the cast together can choose who to call in by looking at your photos, before any in-person auditions.
So it pays to keep them current and well done. Photos are often the first filter of a submission, so with old or low-quality pictures it’s hard to make it to the next stage.
Headshots are one of the three basic pieces of your materials, together with your resume and your reel. For the other two, see our guides on how to make an acting resume and how to make an acting reel.
Which headshots to shoot at home
The four basic shots are the close-up headshot, the full-length shot, the profile, and the three-quarter shot (from the knees up). Always add a photo of you smiling naturally.
Before the first click, get clear on which images you need. These are the shots casting calls and agencies ask for most often, so start with them.
1. Close-up headshot
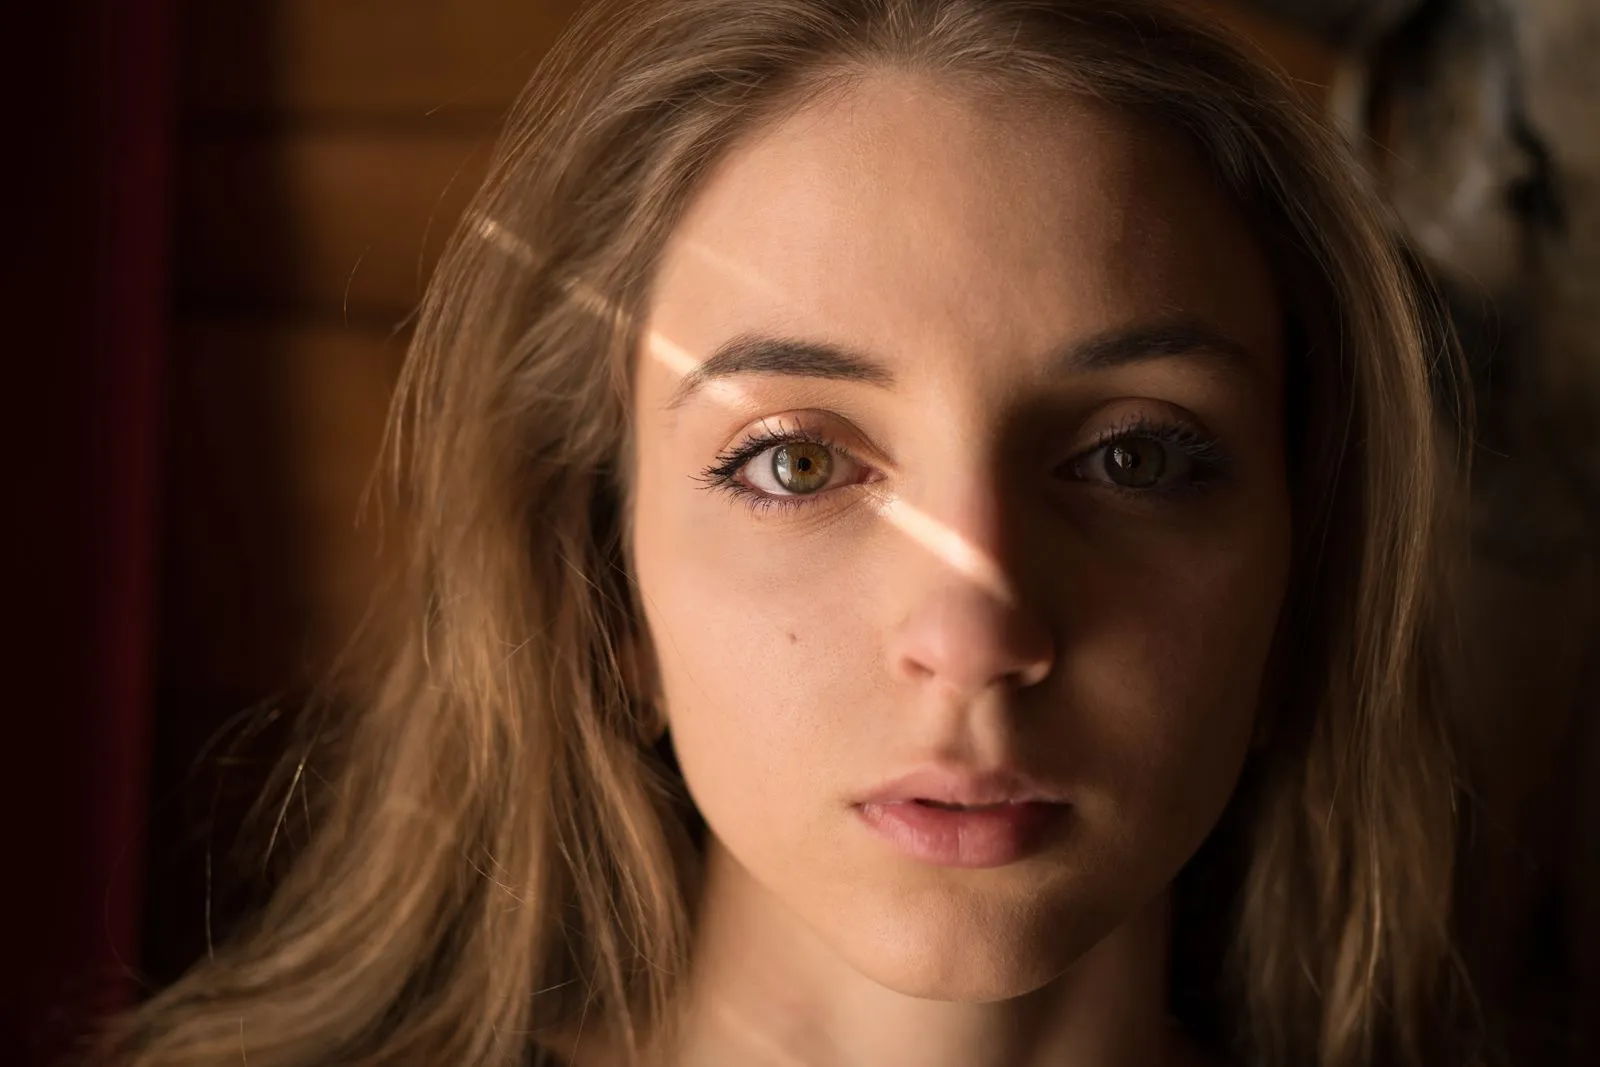
This is the most important photo, and the one people look at first. The frame runs from your shoulders to just above the top of your head, and it has to show your face, your eyes, and your natural expression clearly. Aim for a clean, well-lit image that looks as much like you as possible. Also leave a little space around your head and shoulders, because phone photos are a different shape than an 8×10 and you’ll need to crop.
2. Full-length
This one shows your whole look, from your height and build to your proportions. Use a plain background so the attention stays on you, and keep your posture natural and relaxed. Skip trendy poses, since what matters is showing yourself as you are.
3. Profile
Here you show your face and body from the side. People can see the structure of your face, the shape of your nose, and the line of your jaw and neck, and then decide whether you fit the look of a character.
4. Three-quarter shot
The frame runs from the knees up. Film and television use it a lot, so it helps people picture you on screen, and it shows your torso, your arms, and your body language well.
Always add a smiling photo. Besides the four framings, include at least one with a natural, spontaneous smile to the camera, because it conveys charisma and confidence. Many US actors also keep two looks. One is a commercial headshot (smiling and approachable), and the other is a theatrical headshot (more serious and intense, for film, TV, and theater).
How to take headshots at home, step by step
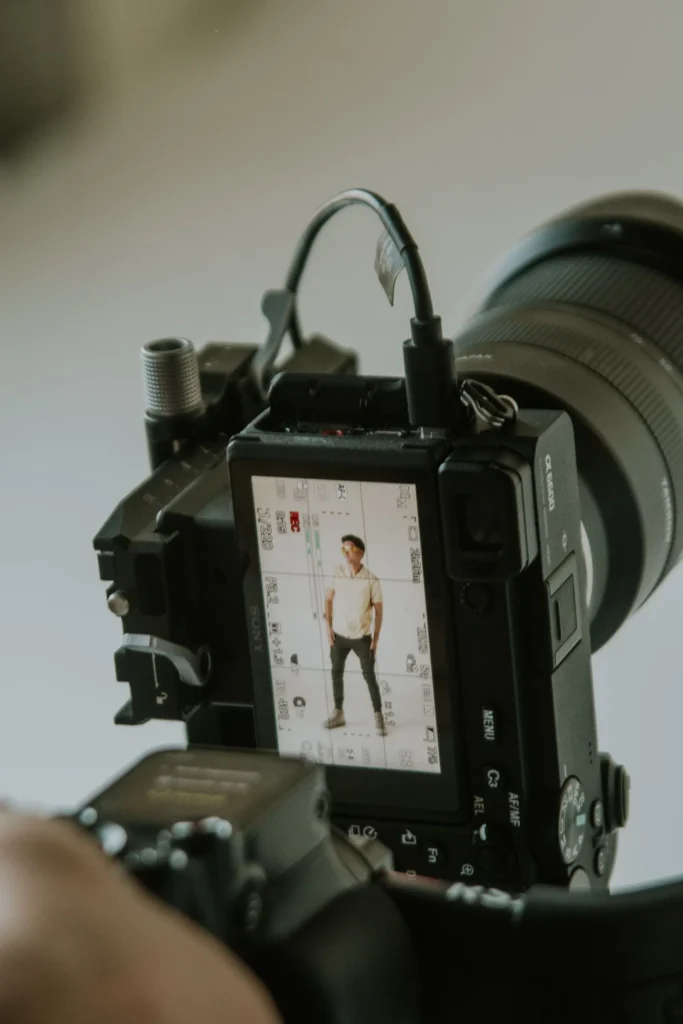
To take headshots at home you need a plain background, a phone with a good camera, someone to take the photos or a tripod, good light (natural or from a ring light), plain clothes, and a relaxed attitude in front of the camera.
Step 1. Choose a plain background
The background has to be neutral, so all the attention stays on you. You have three simple options.
- A plain wall of a single color, such as white, gray, black, or beige, with no textures, pictures, windows, or decorations.
- A plain fabric or sheet, hung against the wall and free of wrinkles. It’s one of the most common tricks for taking photos at home.
- A clean outdoor wall. If you have a yard or balcony with a plain wall in a good color, it can work very well, especially when the natural light is good.
Keep pictures, plants, furniture, windows with a view, and heavily textured walls out of the frame, along with anything else that distracts from you.
Step 2. Use your phone’s rear camera
A phone is enough for good headshots, because current cameras take very good photos if you use them well.
- Rear camera. It usually takes better photos than the front one, so ask someone to help you or use a tripod.
- Tripod and timer. If you have nobody to take the photos, an inexpensive phone tripod and the timer (or a Bluetooth remote) solve the problem.
- Highest resolution. Set the camera to its highest resolution before you start.
- Clean lens. It sounds obvious, but it’s one of the most common mistakes. Wipe it before you start to avoid blurry or smudged photos.
Step 3. Get good light
Light is what most separates a homemade photo from a professional-looking one. Good light makes up for modest equipment, while bad light ruins even the best pose.
- Natural light is the best option. Stand near a large window with indirect light and no direct sun, which creates harsh shadows. If you have a yard or terrace, take advantage of a cloudy day or the soft-light hours, early in the morning or in the afternoon before the sun goes down.
- A ring light. If little natural light comes into your home, it’s the best investment. It’s inexpensive and easy to use, and its even light softens the shadows on your face.
- Even artificial light. If you don’t have a ring light, look for uniform lighting in the room, with no strong shadows on your face. Two identical light sources, one on each side, also work well.
Watch out for harsh shadows on your face and for light from below, which gives you the horror-movie effect. Backlight (when the light comes from behind and darkens your face) also works against you, and so does mixing cool and warm light in the same photo.
Step 4. Dress simply
Your clothes should show your body clearly without taking attention away from your face and your attitude. The rule is easy. The simpler, the better.
What to wear:
- Black, dark blue, or gray jeans, with no rips or loud prints.
- A plain tee in white, black, gray, or navy.
- Simple sneakers or neutral shoes.
- Clothes that fit close to the body without being tight, so your silhouette shows.
What to avoid:
- Clothes with prints, logos, or lettering.
- Very baggy clothes that hide your figure.
- Big or flashy accessories, like necklaces, earrings, or bracelets.
- Sunglasses and hats.
- Heavy makeup or bold lipstick colors.
If you have long hair, take some photos with it down and others with it tied back. That gives people more options for picturing you in different situations.
Step 5. Relax and play with the camera
This is the most important step and the hardest to explain. A good audition photo is technique, but it’s also attitude, presence, and personality. Whoever looks at it wants to see a real person, not someone posing in a forced way.
- Loosen up before you start. Take a deep breath, move your body, laugh a little. A tense session gives tense photos.
- Vary your expressions. Try serious, smiling, thoughtful, and intense. The more range you show, the more useful the material.
- Look at the camera with intention. Your eyes are the first thing that grabs attention in a photo, so play with different looks, from direct and soft to intense or cheerful.
- Don’t overact. Exaggerated expressions rarely work in a still photo, so put truth before drama.
- Take lots of photos. In a home session you can take 50, 100, or more, and the more you have, the more options you’ll have to choose from.
Between rounds, make small changes of look. Switch your tee, let your hair down, or change your shoes, and the material will look more varied and complete.
Step 6. Choose the best headshots from your home session
Go through them all calmly and keep the ones that show you best. With 8 to 15 photos covering the four framings and a few different expressions, you have a complete set. Avoid filters that change your features, because casting needs to see you as you are today.
Save your selection in a folder next to your resume and reel, so you can respond fast when a casting call comes out. Our guide to preparing your audition materials covers what to attach, how to name your files, and how to write the email. You can also create your actor profile on Casting and Acting for free and upload your best photos there.
How many should go on a casting platform? Fewer than you might think. Spotlight, the UK casting platform, asks for photos of at least 500 by 500 pixels and between 1 and 40 MB. It’s also clear about how many to use:
“You can upload 15 Spotlight profile photos for free, but 4 or 5 excellent, well-chosen shots are much better.”
Source: Spotlight, “Everything You Need to Know About… Photos.”
A checklist for your headshots at home
Before you start, make sure you have everything.
- Plain background ready (a wall, fabric, or sheet).
- Phone with a clean lens, set to the highest resolution.
- A tripod or a trusted person to take the photos.
- Good light from a large window, a yard, or a ring light.
- One or two plain outfits, with no prints.
- Clean, tidy hair, and if it’s long, shots with it both down and tied back.
- Natural makeup or none.
- Big accessories and sunglasses set aside.
- A willingness to relax and have fun.
Home headshots or a professional photographer?
Well-done homemade headshots are enough when you’re starting out. A professional photographer makes sense once you have experience, are looking for representation, or are aiming at bigger productions.
Homemade headshots are ideal if you’re starting out, looking for your first opportunities, and don’t have the budget for a photographer. If you follow the steps in this guide, they work for most entry-level castings.
Professional headshots make sense later. Maybe you already have experience and start aiming at bigger productions, or you want a talent agent to represent you, or you want to take your career to a more competitive level. In those cases, hire a photographer who specializes in actor headshots.
Homemade or professional, the essentials don’t change. You need the four framings, a neutral background, good light, simple clothes, and above all, a natural look in front of the camera. When your headshots are ready, look at the open castings and apply to the ones that fit your profile.
Planning to book a photographer later on? In this clip from a SAG-AFTRA Foundation panel, four headshot photographers talk about makeup. Russell Baer, Vanie Poyey, Jamaal Murray, and Stephanie Girard share what they’ve seen work for actors.

Frequently asked questions
Can I take headshots at home without a photographer?
Yes. A phone that takes good photos, a plain background, good light (natural or from a ring light), and a helper or a tripod with a timer are enough to start applying. The difference comes from the light, the clothes, and looking natural.
What size should an actor headshot be?
The standard size is 8×10 inches. Phone photos have a different shape, so leave some space around your head and shoulders when you shoot, and crop to 8×10 afterward.
How many headshots should I have?
A basic set has between 8 and 15 good photos, covering the four framings (close-up, full-length, profile, and three-quarter shot) plus at least one natural smile. A variety of expressions matters more than the number.
What should I wear for audition photos?
Keep it simple, with dark jeans, a plain tee (white, black, or gray), and simple sneakers. Skip prints, logos, big accessories, baggy clothes, and heavy makeup, so the attention stays on you.
What background should I use for my headshots?
A plain wall, or a wrinkle-free fabric or sheet, in one neutral color such as white, gray, black, or beige. What matters is that nothing behind you distracts from your figure.
What light do I need to take headshots at home?
Natural light from a large window works best, indirect and without direct sun. If little light comes into your home, a ring light gives an even, flattering light. Avoid harsh shadows, backlight, and mixing lights of different colors.
When are professional headshots worth it?
When you have experience and aim at bigger productions, want a talent agent, or plan to compete in higher-level castings. For most entry-level castings, well-done homemade headshots are enough.
Books to go deeper
-
True and False
David Mamet A short, provocative book: David Mamet argues for saying the words, playing the action and letting go of forced emotion. See it on Amazon -
Audition
Michael Shurtleff The audition classic: Michael Shurtleff's twelve guideposts for reading a scene and making strong choices in the room. See it on Amazon -
Self-Management for Actors
Bonnie Gillespie The business side of acting: headshots, marketing, targeting the right casting directors and running your career like a small company. See it on Amazon
Each book takes you to Buscalibre or Amazon, depending on your country. Some of these are affiliate links: if you buy through them, Casting and Acting may earn a commission at no extra cost to you. As an Amazon Associate, Casting and Acting earns from qualifying purchases.
What did you think?


Comments
Join the conversation
Create a free account or log in to comment and earn +15 XP.